


—
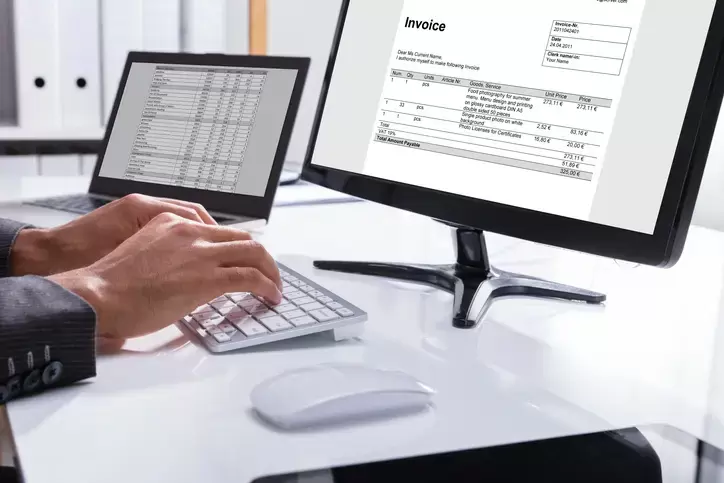
Invoicing is a crucial part of any business, ensuring smooth financial transactions and maintaining professionalism. Google Docs Invoices templates that can be customized to meet your specific business requirements. Whether you’re a freelancer, small business owner, or entrepreneur, modifying a Google Docs invoice template allows you to maintain a branded, professional look while streamlining your billing process.This guide will walk you through the steps to customize Google Docs invoice templates efficiently and effectively.
1. Choosing the Right Invoice Template
Google Docs provides a variety of invoice templates that you can access through Google Drive’s template gallery or by searching online. When selecting a template, consider:
- Layout and Design: Ensure the template aligns with your brand’s visual identity.
- Required Fields: Check if the template includes essential fields like invoice number, client details, and payment terms.
- Customization Flexibility: Some templates are easier to modify than others, so choose one that fits your needs.
To find an invoice template in Google Docs, follow these steps:
- Open Google Docs and click on “Template Gallery.”
- Search for “invoice” in the search bar.
- Select a template that best suits your business.
If you don’t find a suitable template, you can download free invoice templates from third-party websites and open them in Google Docs for customization.
2. Customizing the Invoice Header
The header of your invoice should include your business name, logo, and contact information to ensure professionalism.
Adding Your Business Name and Logo
- Click on the business name in the template and replace it with your official company name.
- To add your logo, click “Insert” > “Image” > “Upload from Computer” (or choose another source).
- Resize and position the logo appropriately in the header.
Updating Contact Information
Ensure your invoice includes:
- Business address
- Email address
- Phone number
- Website (if applicable)
3. Personalizing Invoice Details
Modifying Invoice Number and Date
Each invoice should have a unique invoice number for tracking purposes. Update the invoice number field manually or use sequential numbering.
- Replace the placeholder with your preferred numbering system (e.g., INV-2024-001).
- Add the correct date of issuance to maintain accurate records.
Including Client Information
To ensure clarity, input the client’s details, including:
- Client’s name
- Company name (if applicable)
- Address
- Contact details
4. Customizing the Itemized List
The itemized list provides a breakdown of products or services rendered. Ensure clarity by customizing the following:
Updating Descriptions and Prices
- Replace placeholder text with actual product/service descriptions.
- Ensure accuracy in unit prices and total amounts.
- Use clear and concise language to describe each service or product.
Adding Discounts and Taxes
- If applicable, include a discount field and specify the percentage or amount.
- Include applicable sales tax/VAT/GST by adding a separate line for tax calculations.
- Ensure the total amount reflects all adjustments accurately.
5. Editing Payment Terms and Notes
Clearly outline payment terms to avoid confusion and late payments.
Payment Due Date
Specify when the payment is due, e.g., “Payment due within 30 days of invoice date.”
Accepted Payment Methods
List available payment options, such as:
- Bank transfer details
- PayPal or online payment links
- Check payment instructions
Additional Notes
If necessary, include special notes, such as:
- Late payment policies
- Refund or cancellation terms
- Personalized thank-you messages
6. Formatting and Final Touches
Adjusting Fonts and Colors
Ensure that the invoice matches your branding by:
- Using consistent fonts (Google Docs allows custom font selections).
- Adjusting colors to reflect your brand identity.
Adding a Signature (Optional)
If you want to add a personal touch, insert a digital signature:
- Click “Insert” > “Drawing” > “New.”
- Select the scribble tool and draw your signature.
- Adjust the position of the signature at the bottom of the invoice.
- Saving and Sending Your Customized Invoice
Saving the Invoice
- Save the invoice in multiple formats:
- PDF: Ensures the format remains unchanged.
- Word Document: For further edits if needed.
Sharing the Invoice
- Email: Use Google Docs’ “Share” feature or export as a PDF and attach it to an email.
- Cloud Storage: Store invoices in Google Drive for easy access.
Conclusion
Customizing a Google Docs invoice template is a simple yet effective way to streamline your business’s billing process. By personalizing your template with branding, accurate details, and professional formatting, you create an invoice that enhances credibility and ensures clear financial transactions. Regularly updating your template to meet evolving business needs will help maintain a seamless invoicing system.
—

